Home / Shelter Path / How to Weatherproof Your Shelter Before Dark
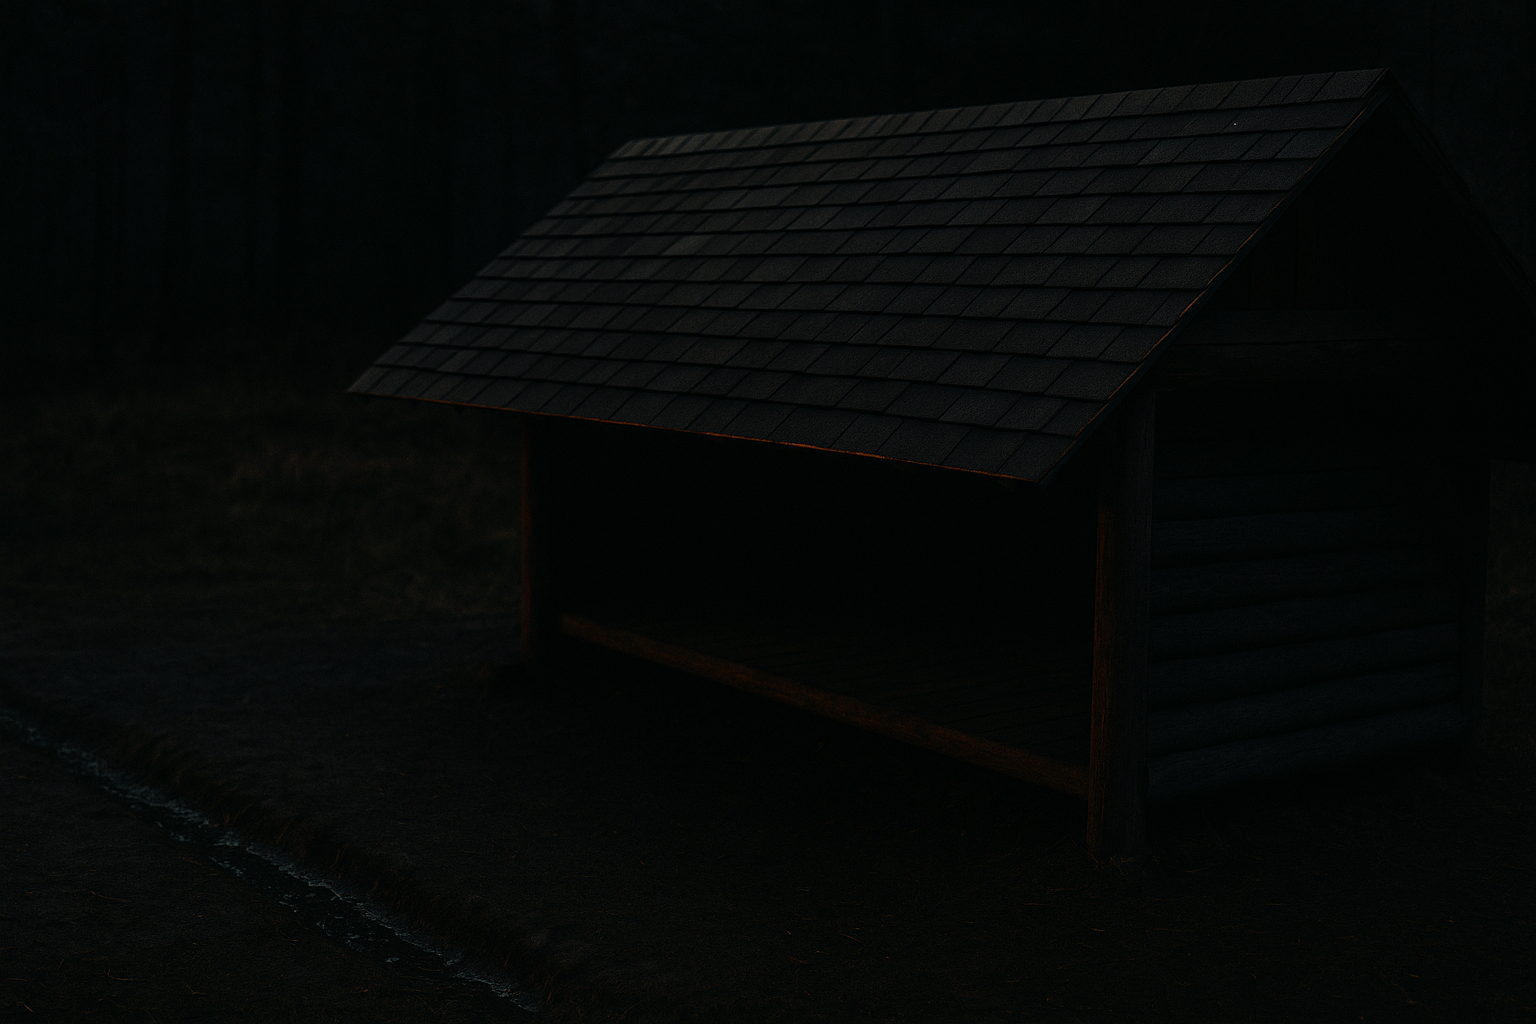
Wide shot of a finished shingled shelter roof with a visible drainage trench in fading dusk light, dark and grounded tones, illustrating how to weatherproof your shelter before dark.
SHELTER · FIELD GUIDE · STEP 7 OF 7

How to Weatherproof Your Shelter Before Dark

Site, hazards, wind, structure, and insulation are all in place — the last step is making sure the shelter survives the actual weather and the hours since you built it. This guide covers drainage trenching, shingled roofing, and a final re-check of everything you read earlier in the day, before the light you'd need to fix it is gone.

Written by SRL Field Team · Updated 2026-07-14 ✓ Field Verified
weatherproofingfinal-check
SRL-SHL-007 · print-ready · SRL Editorial Standard · 2 sources cited
7 minRead Time
IntermediateDifficulty
2Sources Cited
Field Rules
  1. 01Dig a shallow trench on the uphill side, angled to carry water around and away from the shelter, not just off the roof and onto the ground next to you.
  2. 02Start at the bottom edge of the roof and work upward, so each new row overlaps the row below it rather than butting against it.
  3. 03Walk the same hazard and wind scan from earlier steps once more before full dark, while you can still see and still fix a problem.
Get the Free Field Sheet Continue the Learning Path →
SHELTER PATH

Build this skill in sequence.

LEARNING PATH PROGRESS
Shelter Path — you're on step 7 of 7 7/7 published
WHAT YOU'LL LEARN

4 things, read in order.

INTERACTIVE DIAGRAMS

See the terrain, not just read it.

2 field diagrams from the SRL diagram system. Switch between them.

WHY THIS DIAGRAMTrace where runoff actually needs to go around your shelter footprint, not just off the roof.
Drainage trench routing SHELTER
A shelter can pool its own runoff at the footprint even on good ground — trench it around, not just off the roof.
WHY THIS DIAGRAMBuild the roof bottom-up so water sheds over each layer instead of seeping into upslope seams.
Shingled roof build order Bottom row, laid first start here Each row overlaps the one below shingled Ridge row, laid last finish here
Start at the bottom and overlap upward — water runs off a shingled surface and seeps through a flat one.
SIGN 01 / 03

Cut a Drainage Trench Before You Need It

A shelter that's dry at dusk can be sitting in standing water by the middle of the night.

WHAT TO LOOK FOR

The uphill side and any low point around your shelter's footprint where runoff would naturally collect.

WHY IT MATTERS

Even a well-sited shelter can pool water at its own footprint once a roof starts diverting rainfall onto the ground beside it.

WHAT TO DO

Dig a shallow trench on the uphill side, angled to carry water around and away from the shelter, not just off the roof and onto the ground next to you.

FIELD TIP

Pour a small amount of water at the uphill edge and watch where it actually travels — redirect the trench if it doesn't clear the footprint.

COMMON MISTAKE

Trenching only the direction you expect rain from. Wind-driven rain and roof runoff itself can approach from any side.

SIGN 02 / 03

Shingle the Roof, Don't Just Pile It

Water runs off overlapping layers. It finds its way straight through a single flat pile.

WHAT TO LOOK FOR

Roofing material — bark, boughs, or debris — laid in overlapping rows from the bottom up, the way shingles are laid on a house.

WHY IT MATTERS

A single thick layer laid flat still has gaps and seams that water finds. Overlapping rows shed water the way each layer sheds onto the one below it.

WHAT TO DO

Start at the bottom edge of the roof and work upward, so each new row overlaps the row below it rather than butting against it.

FIELD TIP

Trickle water at the peak and watch whether it runs off the shingled surface or pools and seeps through a seam.

COMMON MISTAKE

Building the roof from the top down, which leaves upslope-facing seams that catch and funnel water inside instead of shedding it.

SIGN 03 / 03

Re-Run the Site Checks as Light Fades

Wind, drainage, and hazard signs you read earlier can change by the time you actually need the shelter.

WHAT TO LOOK FOR

The same wind, drainage, and overhead hazard signs from earlier in the path, checked again in the last light before dark.

WHY IT MATTERS

Conditions — wind direction, a cracking limb, a cloud bank — can shift over hours. The read you did when you chose the site isn't guaranteed to still hold.

WHAT TO DO

Walk the same hazard and wind scan from earlier steps once more before full dark, while you can still see and still fix a problem.

FIELD TIP

Compare the current wind direction against the leeward siting you chose earlier — if it's shifted significantly, adjust your entrance or wall orientation now.

COMMON MISTAKE

Treating the site read as a one-time task completed hours earlier instead of a check worth repeating right before you commit for the night.

DECISION CARD

If the wind, drainage, or hazard signs have changed since you sited the shelter, adjust the shelter now, in the last light, not after dark.

MISTAKE CARD

Treating the site read from earlier in the day as permanent. Conditions shift, and the only safe window to fix it is before dark.

FIELD RULE

Trench it, shingle it, then re-check it before the light goes.

HONEST LIMITATIONSThis is a final-pass check, not a substitute for the earlier steps in this path — a good trench and roof can't fix a site that failed the ground, hazard, or wind read to begin with.
This article's actual product
1-PAGE FIELD SHEET
How to Weatherproof Your Shelter Before Dark
PDF · LETTER/A4
Drainage trench cut on the uphill side, tested with poured water
Roof shingled bottom-up with overlapping rows, not laid flat
Wind direction re-checked against your leeward siting
Overhead hazard scan re-run in the day's last light
Ground bed and door plug confirmed ready before full dark
Open Printable Field Sheet
print-ready·offline-first·SRL-SHL-007
Get the Free Field Sheet
Free, direct download — no account required.
SOURCES

What this guide is built on.

  • Traditional bushcraft shelter weatherproofing references
  • Basic hydrology and site-drainage field guides

See our Editorial Standard for how sources are reviewed.

PREVIOUS STEP
RELATED SKILLS

Keep the next reference close.